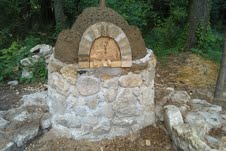
OUR OVEN AT ANGELIC ORGANICS LEARNING CENTER
EARTH OVEN & COB BENCH
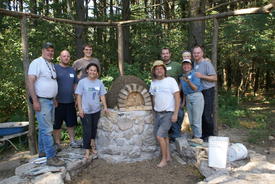
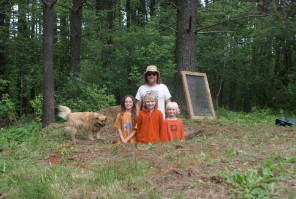
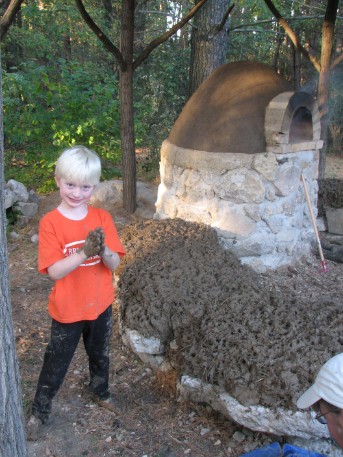
The cob oven 2010 workshop was a foot-smashing success!
On a beautiful September Sunday, people gathered from near and far for a hands-on (and feet) learning experience building an earthen oven.
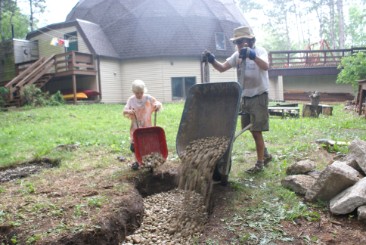
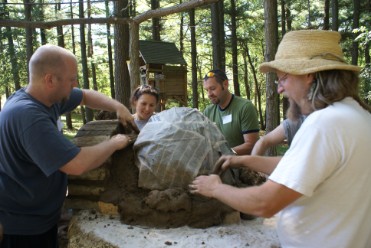
The events started with introductions and presentation by Randy Mermel and Judy Speer (Small Waters) on the how's and why's of building with cob, which stimulated many great questions and conversations. We tried to keep the presentation to a minimum so we could get outside and get busy with the cob. Before the potluck lunch, we built the brick oven entrance, laid the fire bricks for the oven floor and prepared the sand form that would act to hold up the cob dome and form the void of the oven. After the delicious community lunch, the real fun began as we mixed the cob with our feet (the cob dance) and began to build the oven! We carefully packed the cob around the sand form as we laughed and got to know each other better. We were successful in getting the first layer of the oven in place.
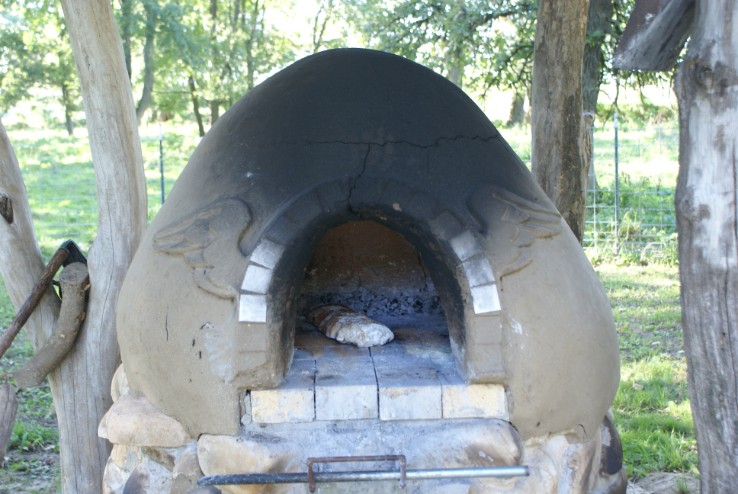
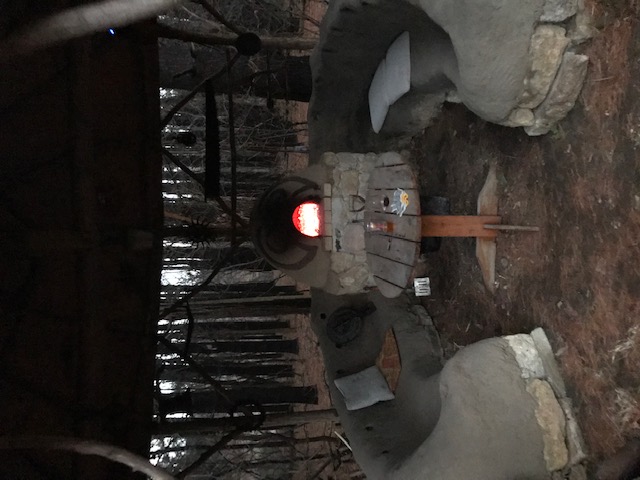
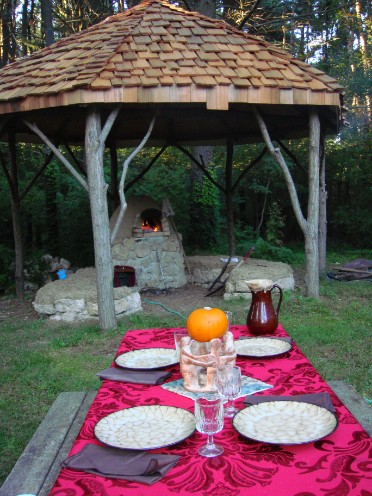
At this point, it was necessary to stop to let this layer dry before we added the thermal layer. We drove in a caravan to Angelic Organics to try out the oven that we built as a workshop two years before. Thanks to Delora, who had started the oven two hours earlier, all we had to do was remove the coals to bake some bread. As soon as the loaves were placed, we began to smell the wonderful aroma of artisan bread baking. The first loaf was baked in less than four minutes and we enjoyed eating it with butter and cheese.
We invited the group out later that fall to complete the oven and begin building the benches, as well as to nurture the connections that were created at the first workshop and to promote sustainable building practices!
STEP ONE: FOUNDATION
A GOOD FOUNDATION SHOULD:
1. support the weight of the heavy oven;
2. raise the oven to good working height;
3. protect your oven against moisture;
4. keep the oven ridged, so it won't shift when the ground freezes and thaws.
DIG OUT A FOUNDATION HOLE AND FILL IT WITH DRAIN ROCK
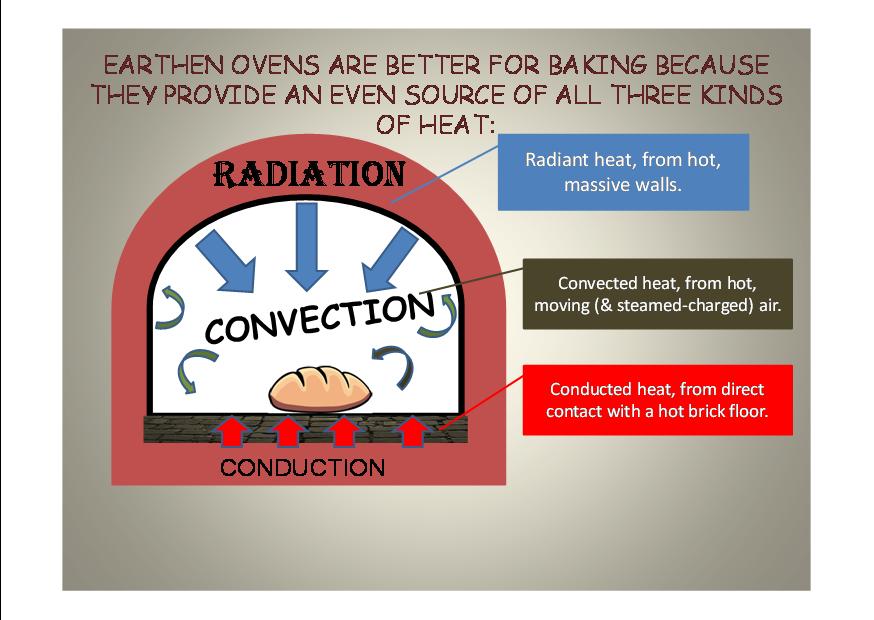
Cob is very resistant to weathering. Because of its porous nature, it
withstands long periods of rain without weakening. However, too much
exposure is best avoided by the "boots and cap" strategy: wide roof
eaves to protect the cob and an impervious foundation. Check out our Whole Trees Architecture page for information on our roof.
WE BUILT OUR FOUNDATION FROM BROKEN PIECES OF CONCRETE FOUND IN A RUBBLE PILE
Reduce-Reuse-Recycle
STEP TWO:
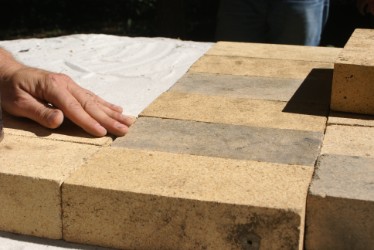
INSULATE YOUR FLOOR AND SET YOUR FLOOR BRICKS

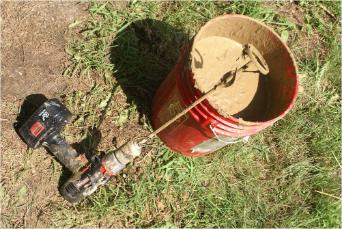
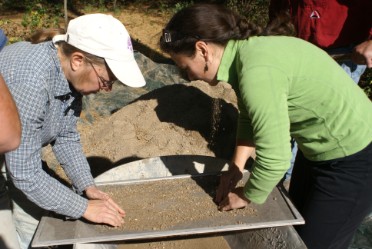
Break up building soil to the texture of coarse gravel, and pour it into a bucket 1/3 to 1/12 full of water (pour off excess). Mix to a consistency of heavy cream.
Mixing sawdust/clay mortar
A fire brick hearth with insulation
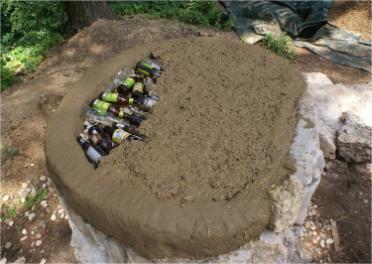
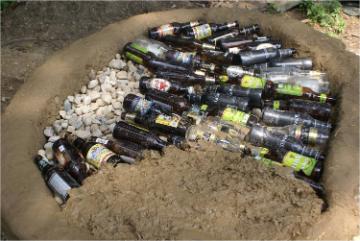
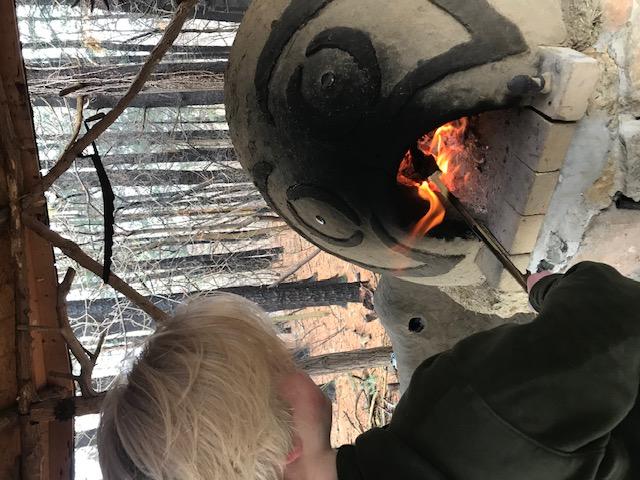
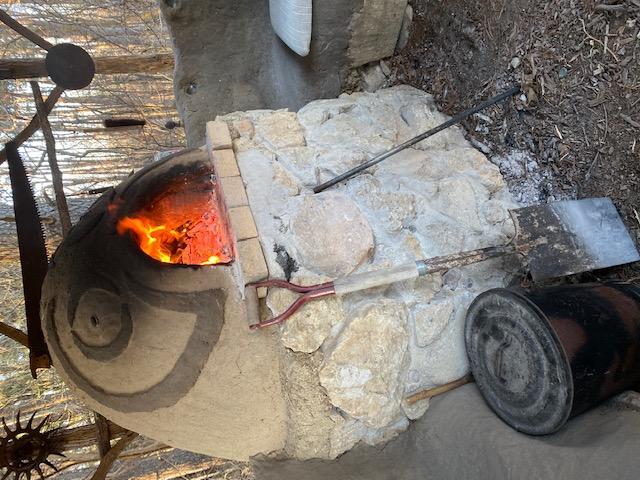
An insulating layer of beer bottles in a sawdust/clay mortar was assembled on top of the foundation in a ring of cob and beneath the firebrick hearth. The hearth, a simple arrangement of 17 recycled firebricks, would serve as the bottom of the cob oven, where breads and pizzas would bake directly. The hearth bricks were carefully laid on a thin bed of sand, so that they could be gently tapped to be firm and level.
STEP THREE:
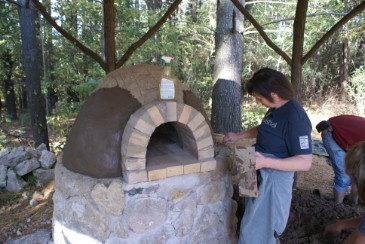
CONSIDER A DOOR AND FANCY BRICK ARCH OPTION
STEP FOUR:
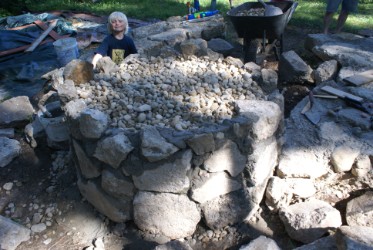
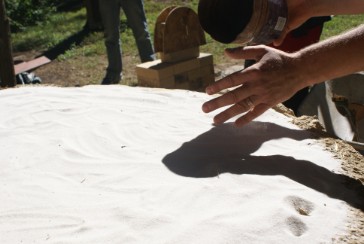
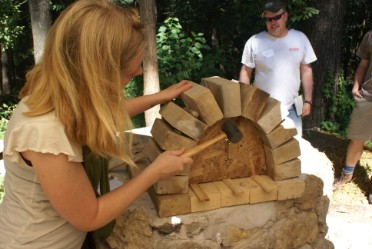
DRAW OUT YOU OVEN CIRCLE, MAKE A SAND FORM OR SHAPE THE VOID

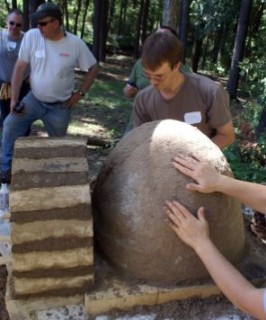
THE FINISHED DOME SHOULD BE HARD PACKED, EVEN AND SOLID. TO EASE REMOVAL OF THE SAND, COVER IT WITH A SHEET OF WET NEWSPAPER. SMOOTH THEM DOWN FLAT SO THE EDGES WON'T GET CAUGHT IN THE MUD AND MAKE THEM CRACK.
STEP FIVE:
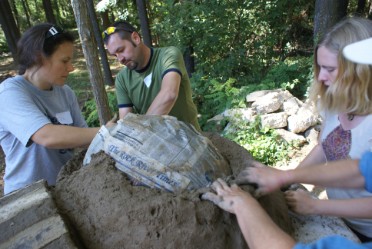
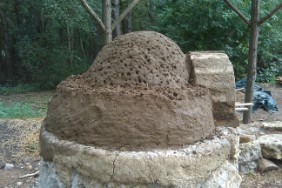
FIRST LAYER OF DENSE "OVEN MUD" FOR THE THERMAL MASS (4 inches thick)
RECIPE:
One part building soil (clay)
Two to four parts concrete or sharp sand
Water
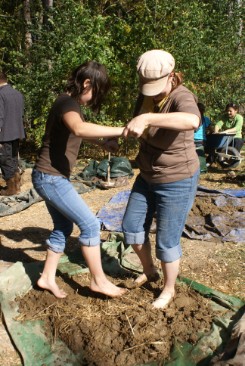
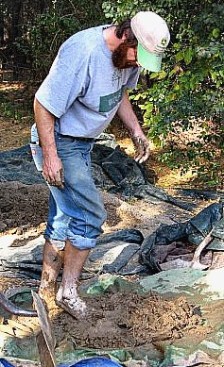
THE COB DANCE!

STEP SIX:
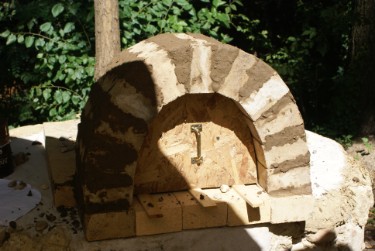
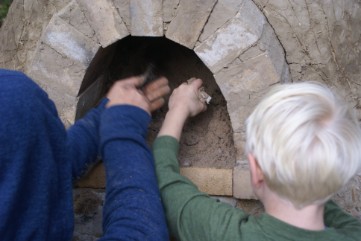
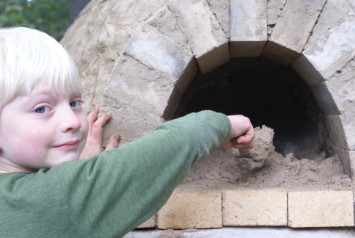
CUT OPENING AND REMOVE THE SAND FORM
STEP SEVEN:
LAYER TWO - INSULATION
The insulation layer is simply a four inch shell of straw-clay mix over the top of your dense oven mud.
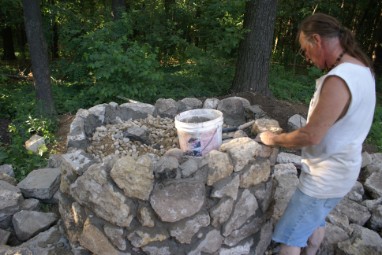
SCULPTURAL/STRUCTURAL COB, FINISH MUD OR PLASTER
The plaster is made with shorter fiber and perhaps finer sand.
A GENERAL PLASTER RECIPE
1. One part fine, screened building soil.
2. Three to four parts fine, sharp mason's sand or concrete sand (also screened as needed).
3. Just enough water because to much causes slumping / cracking.
4. One half part fine fiber (short stuff 1/4" or less) is best for detailed work. ( Manure from grass-fed animals, chopped fine straw, horse hair.... We used cattail fluff!)
5. Optional: a dollop of wheat paste binder.
Every winter we are privileged to hear the call of The Great Horned Owl coming from the pine forest adjacent to the dome. We have decided to honor the owls by sculpting an owl oven with winged benches. And we have only begun that process....you can help!
Earth Oven and Cob Bench Workshop - 6/2/12
COB OVEN 2020
We are grateful for Kiko Denzer's Book Build your Own Earth Oven 3rd edition, it has been our manual and I highly recommend it for anybody considering building their own oven.
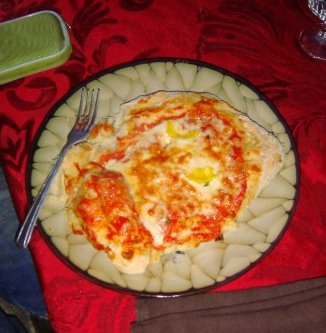
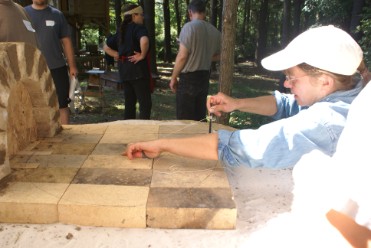
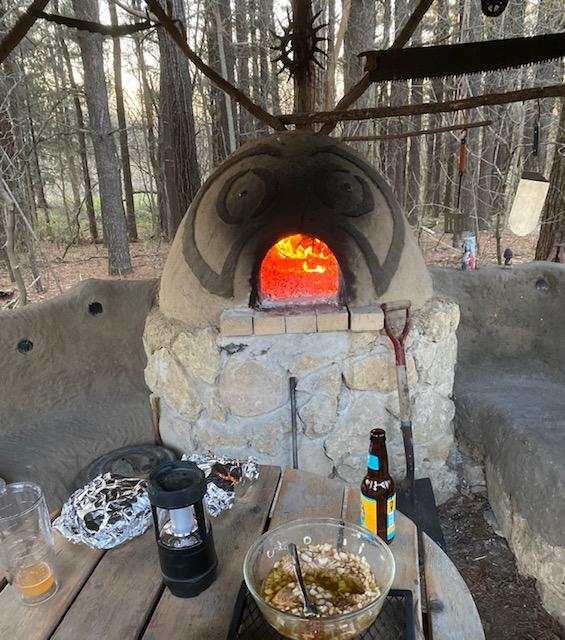
Our first pizza party!